Du, ich & Scrapbooking.
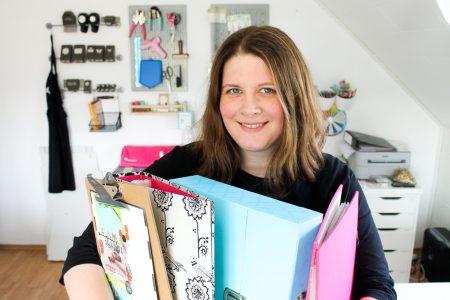
Hallo, ich bin Janna Werner.
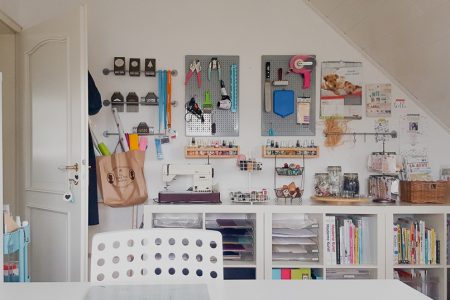
Auf meinem Blog Papiersalat dreht sich alles ums Kreativsein mit Papier.
Das findest Du hier
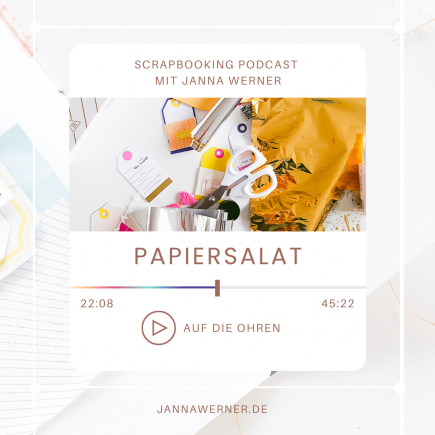
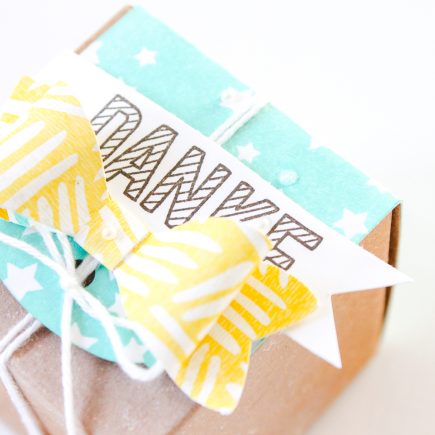
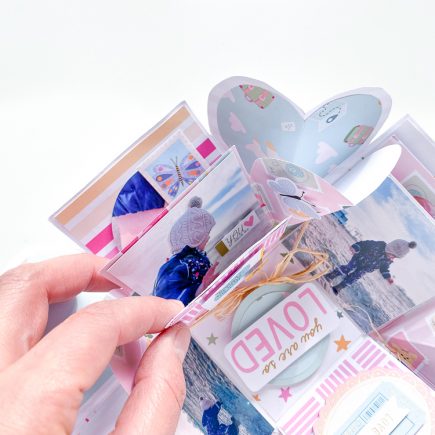
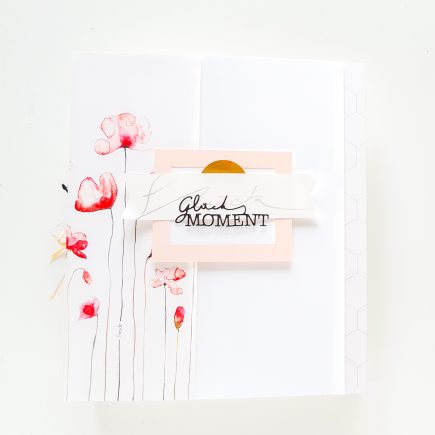
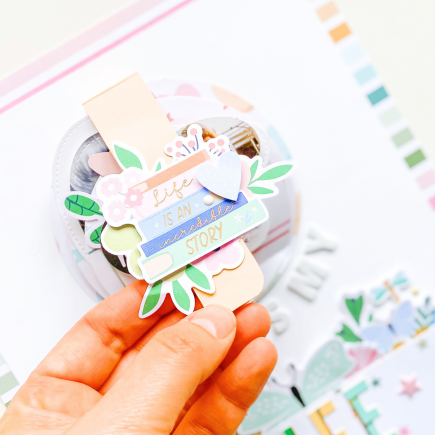
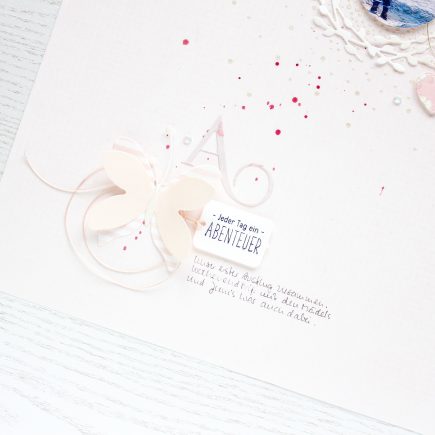
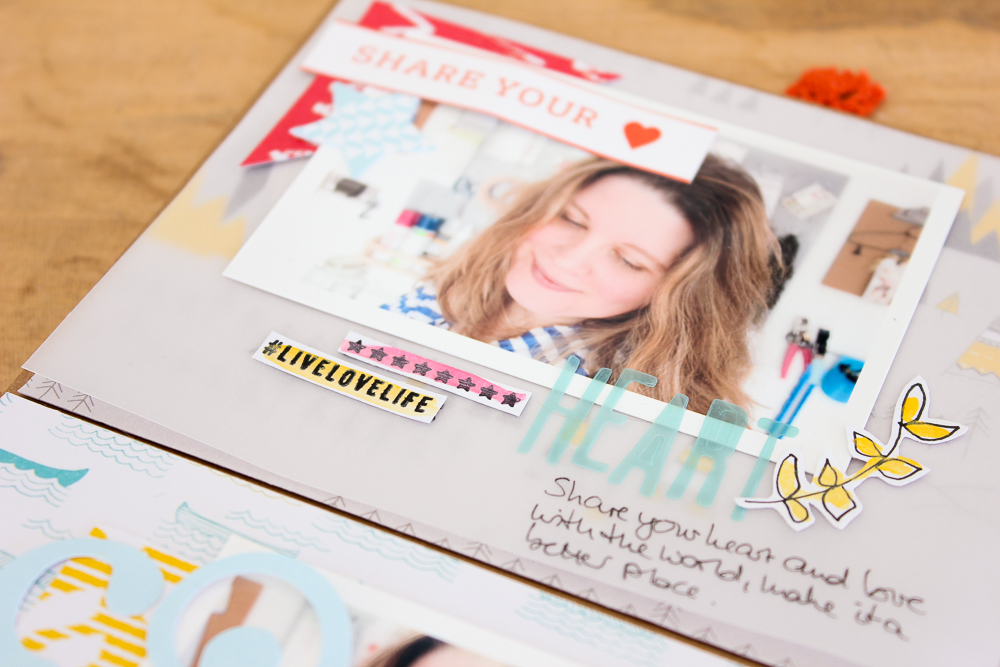
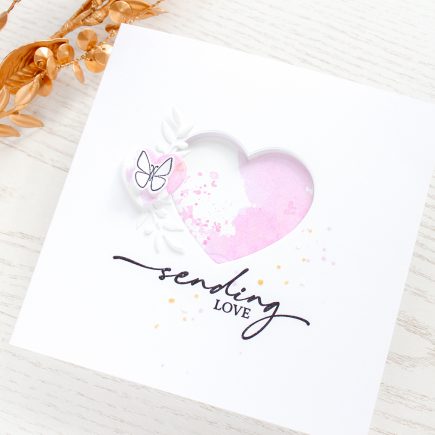
Es erwartet Dich eine Fülle an Inspirationen: von Mini Alben über Scrapbooking Layouts zu vielseitigen Papierprojekten. Darüber hinaus auch Video Anleitungen, der Papiersalat auf die Ohren Podcast sowie Online Kurse und Workshops.
Alexandras Engel
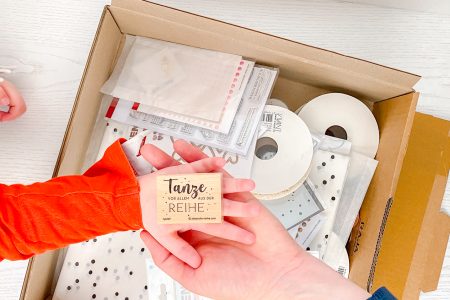
Als unabhängiger Engel von Alexandra Renke zeige ich Dir, was Du mit den tollen Produkten aus der Erlebniswelt anstellen kannst und bin an Deiner Seite, wenn Du selbst ein Engel werden möchtest.
Unterstützen
Du kannst meine Arbeit auf viele Arten unterstützen. Schau mal hier. Danke!
Lern mich kennen
Erfahre mehr über mich.
Kontakt
hallo@jannawerner.de